Good Saturday Morning Ladies,
I think the heat yesterday was a degree or two too far!! It was so hard to do anything, annoyingly I had a lot of things that I needed to do! It was simply a case of one little job at a time then a rest on the bed in front of the fan!
Sonia it must have been so hot for you at work this week my lovely. I hope you get time to sit and cool off between jobs.
Karen how was the 2nd visit to the chemist with boxing gloves?! I think that sometimes these people need putting in their place! I hope you got sorted. One of our Dr Receptionist is the same, in fact Paul picked up my medication yesterday and he said he felt really awkward, there was a lady talking to Receptionist about making an appointment for some test results etc, the Receptionist said let me check your recotds, she then preceeded to discuss what her what each test was and what the results showed, Paul said he didn't know where to look (the reception is tiny) barely room for 2 people, she told the lady that there was some good news and some not so good, at which point Paul had had enough and told the pharmacist that he would wait outside to give the other lady some privacy ( aiming his comment at the Receptionist). I often want to ask them how they would feel if some discussed their medical records publicly!!
Sue has done us a Magazine Review....
Simply Cards & Papercraft Issue 233
(Aug 2022)
This months magazine has a festive scenic die with houses and Father Christmas driving his reindeer over the sky. It is from Crafters Companion. There are plenty of ideas of how to use the die cuts which can be snipped into for different looks. As usual there are downloads of matching papers and toppers that you are free to print off.
The first article uses inks to colour both the buildings and the sky giving a variety of looks. The How To: Create circular cards using your landscape die!
The Tried & Tested this month is the Crop-A-Dile from We R Memory Keepers. It is used to punch holes and fix eyelets to lots of materials.
There is a How To: get started with your Crop-A-Dile which clearly shows how to use it and there is a list of ways to add eyelets or punched I holes.
There are some great gift wrap and keepsake ideas here all made using the freebie die and free download papers and toppers. The first make is a decorative jar and tag set. Add some home made or shop bought goodies and you have a lovely gift. Other makes are some tags, bags and a shaker lidded box and also a battery operated tealight candle holder. Most of the makes are quite quick and easy to make with just the shaker lid box taking longer.
This is a tutorial to make See-through die cut cards. It’s just what it says on the title- you cut through both the front and the back of the card before decorating so something different for a change. There are two How To: in this article, one basic and one that is more intricate. Both create a see-through die cut card and shows just what you have to do. It’s a technique I’ve never tried but you get some lovely cards so I must give it a go.
Candy cane lane shows three pretty Christmas off the page makes with free template downloads for you to use. You can make stencils of other celebrations to use if you prefer. A tote bag, banner and wooden signs decorated with different pens all make more keepsake items. Having templates means even I can have a go at brush lettering!
The In-Depth guide to this month is Double Heat Embossing. The guide shows the step by step instructions using layering stamps, and matching dies if you have them but you can fussy cut them if you prefer. This technique gives real depth to the butterfly or whichever layered stamps you have. Definitely one to try.
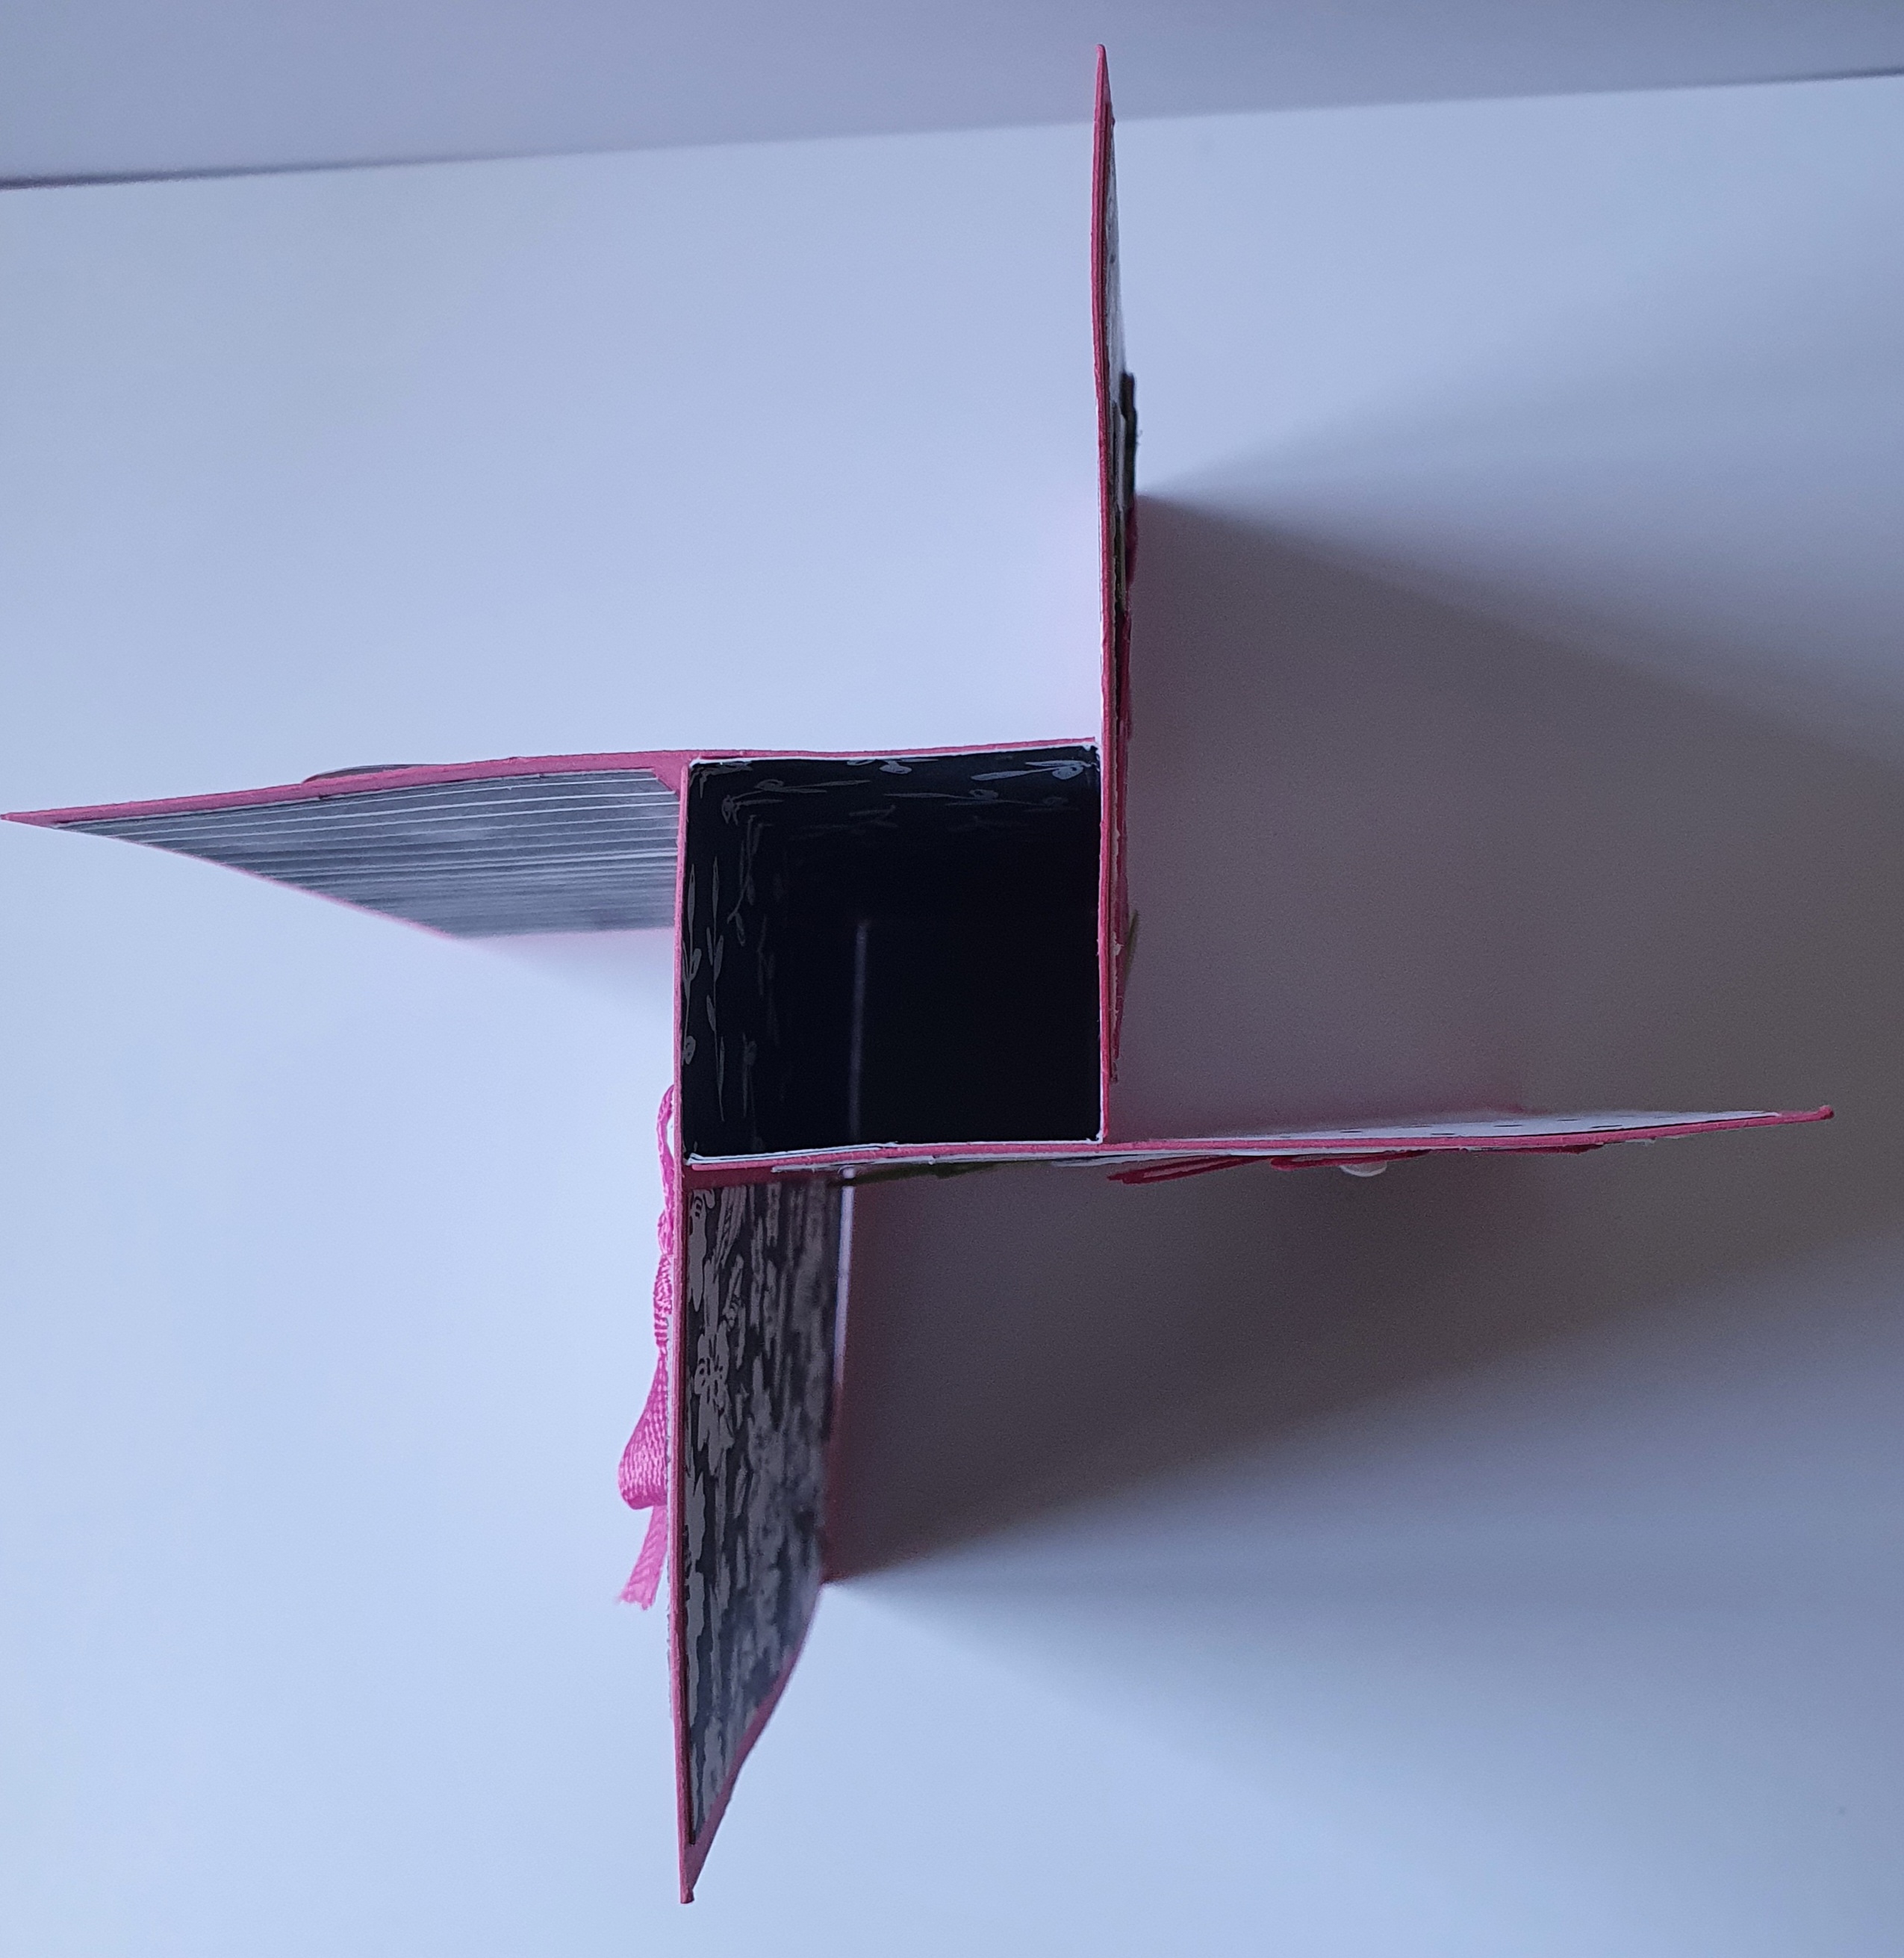
This article is the final one using the freebie die. It has four makes of different card shapes and styles that all look lovely using pink and purple as the main colours which are very popular again this year. These colours look great against the black silhouette die cuts. The How To: creates a scenic shadow box card. A different style that still folds flat for posting which is very important especially at Christmas!
In the Spotlight shows how to use this die cutting technique. There are many ways of creating cards in this way. The basic idea is to have a portion of the card front “in the spotlight” You could stamp an image, cut a portion of it out, colour that portion then replace it. Of course you can do the opposite too. Also die cut letters or numbers, add foam tape to the die cut portion then replace. Just a couple of ways to spotlight cards. The How To: explains clearly how easy this is to do.
The final technique is using this issues digital papers and toppers downloads to make some quite traditional Christmas cards using teals and gold as the main colours. These colours work so well together.
If anyone would like more information please let me know Sue xx
Sue thank you so much I know how long these take to do, you have written an amazing review XXX
Shopping
Karen
Karen has had this amazing Doodle Square die set from Clarity on her wishlist for a while and has finally treated herself, you work hard Karen and definitely deserve a treat, I can't wait to see how it cuts ,thank you so much for sharing your shopping Xxx
Lilian
Lilian treated herself to some new Stamperia Papers, the look gorgeous Lilian 😍 Some of the images look like Spanish Flamenco dancers, so so pretty.
Those Folied Christmas inserts are a brilliant idea to cut down on the insert stamping on Christmas cards. Last but not least the Hunkydory Sentiment strips, I have these and they are so useful, just to snip and layer onto any matching card.
Thanks for sharing your shopping Lilian, I cant wait to see what you create. XXX
Well that's all for today my lovelies,
Have a fantastic Saturday,
Love and hugs to all of you,
Sandra
xxxxxx








.jpeg)
.jpeg)
.jpeg)


.jpeg)
.jpeg)
.jpeg)
.jpeg)
.jpeg)
.jpeg)

.jpeg)
.jpeg)
.jpeg)
.jpeg)
.jpeg)


